Key Takeaway:
.Net Core allows for a cross platform operation of applications on supported hardware and software. This extends to ASP.Net Core. In this post I am going to show how to run ASP.Net Core in self-contained deployment mode on Raspberry Pi 3.
Read On
In my last post I showed how to run a .Net Core console application in Raspberry Pi. In this post I am going to show how to run an ASP.Net Core Web application on Raspbian Stretch operating system using Raspberry Pi 3 hardware. Before you do that make sure that you have assigned a static IP address to Pi. You can learn how to do that in one of my previous post.
First create a new ASP.Net Core Web application project in Visual Studio which does not rely on any kind of authentication.
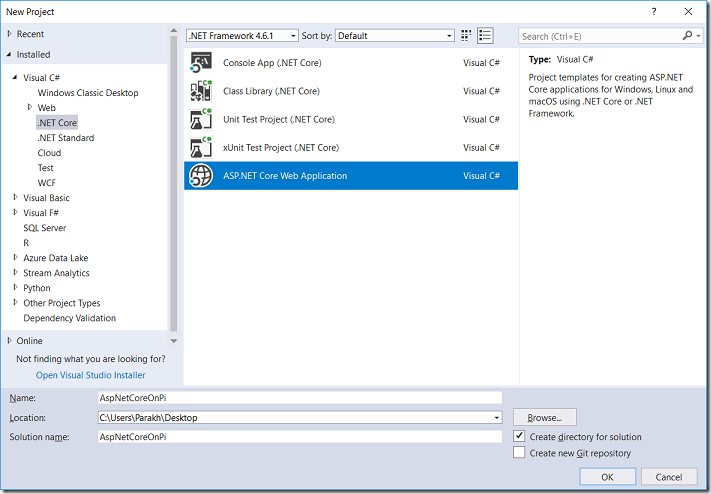
ASP.NET Core Web Application
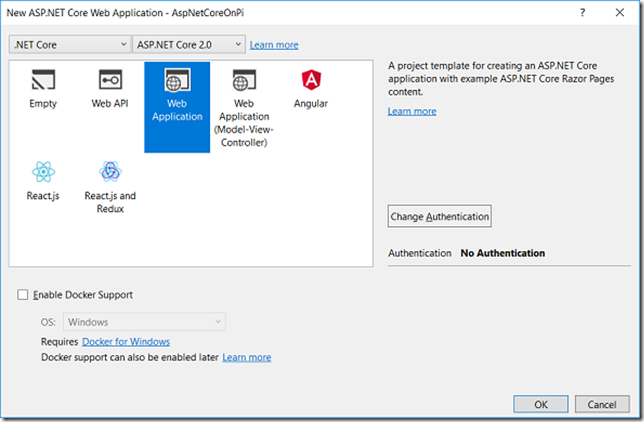
Web application with no authentication
Since the aim of this post is learn how to run an ASP.Net Core application on Pi, let’s keep things simple. We will not do any modification to any of the pages in the application. Build and run the application locally to make sure that it works.
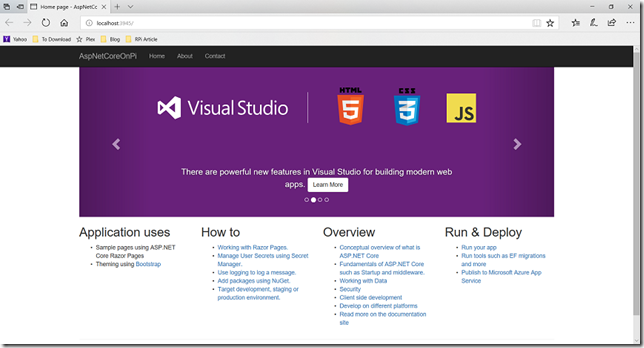
Web application running out of the box
The application is running locally using IIS Express and listening at the address mentioned in launchSettings.json file under Properties in the project hierarchy. When it comes to hosting the application in Pi, we need to makes sure that the application listens at the desired IP address and port. This is accomplished using the “UseUrls” method in Program.cs file. The “UseUrls” method specifies the URL scheme that the web host will use to listen to the incoming requests. Since we will be using the Kestrel web server via terminal in Pi, it is important that we change the port in the Program.cs file, as shown in the image. Make sure that the port that you assign is not in use by some other app in Pi.
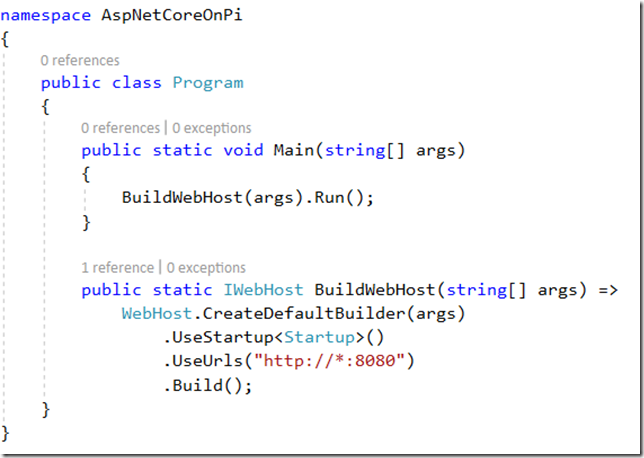
Change the port to something that is available in Pi
Now publish the entire application for linux-arm combination using the following command:
dotnet publish -r linux-arm
Now copy the entire publish directory to Pi. This will give us not only our application, but also the server infrastructure to serve the application. Make sure that you have the appropriate permission to run not only the application, but also the Kestrel server under your account. You can use the following command to recursively allow your account have the execute permission on all the assemblies inside the publish folder.
chmod –R 755 publish
Once that is done, execute the application:
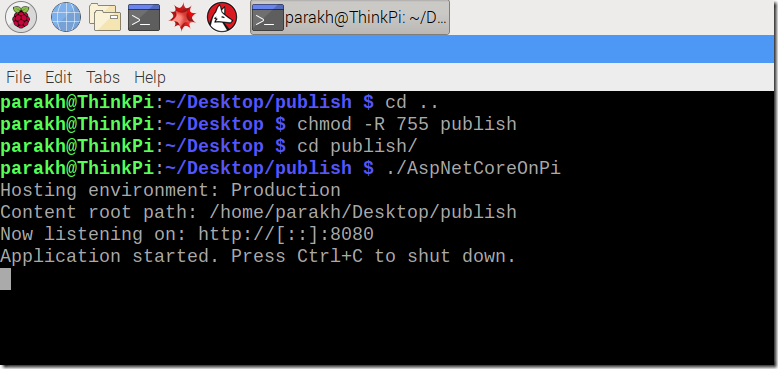
Kestrel running
Now hop into your browser in your computer and use the IP address of your Pi in conjunction of the port on which the Kestrel server is listening.
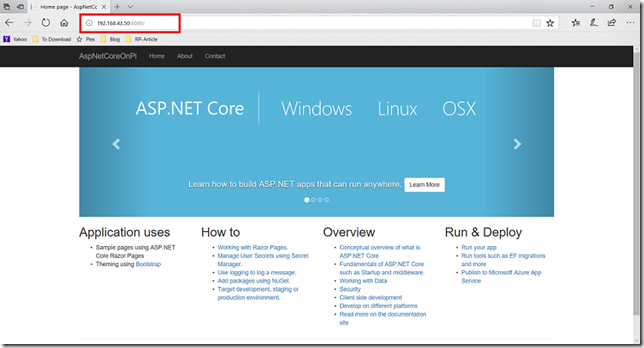
ASP.NET Core Web application being served by Pi
Happy exploration.